We strive to provide you with authoritative, trustworthy, and expert advice. In doing so, the staff at bbqdropout.com performs extensive research, editing, and fact checking to every post on this webiste. If you feel that this article can improve, please feel free to reach us at staff@bbqdropout.com
Before continuing this article, I wanted to let you know that I have a YouTube channel where I showcase all sorts of video content related to BBQ. Subscribing would mean a lot to me, and I very much appreicate all the support!
If you own a Traeger pellet grill, you know how important it is to keep the chimney clean. The Traeger Chimney Cap is designed to help with that.
This accessory attaches to the top of your chimney and has an adjustable damper that helps regulate airflow. It also has a screen that catches any ashes that might come up through the chimney.
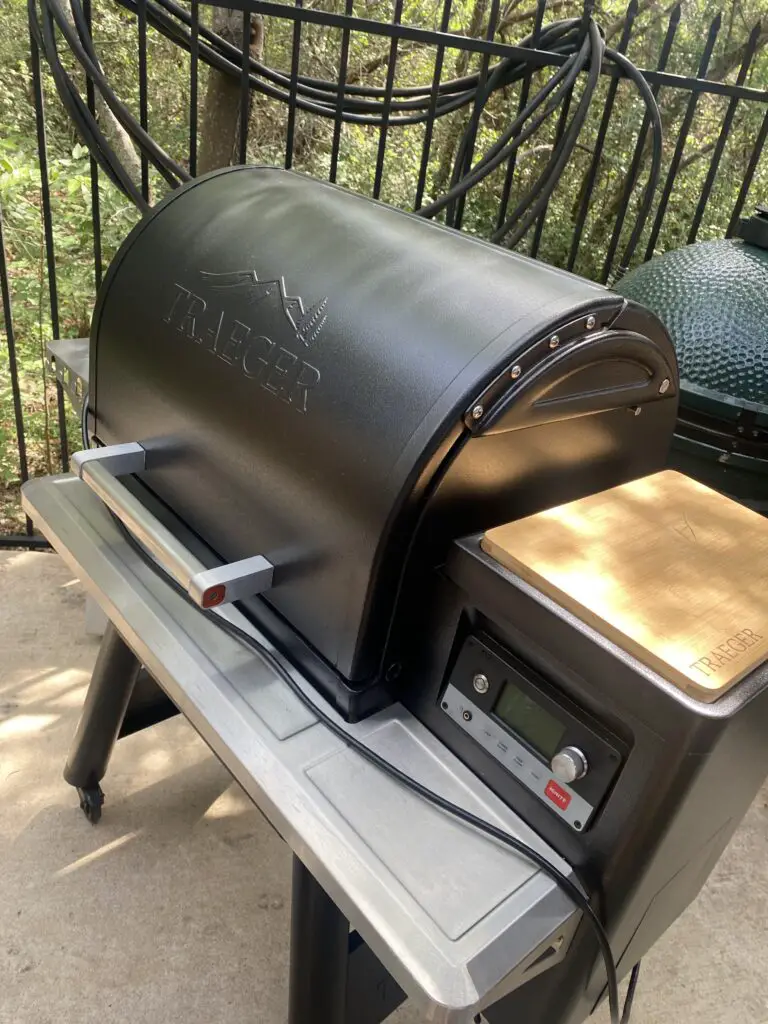
This is a must-have accessory for any Traeger owner.
How High Should the Chimney Cap Be on a Traeger Grill?
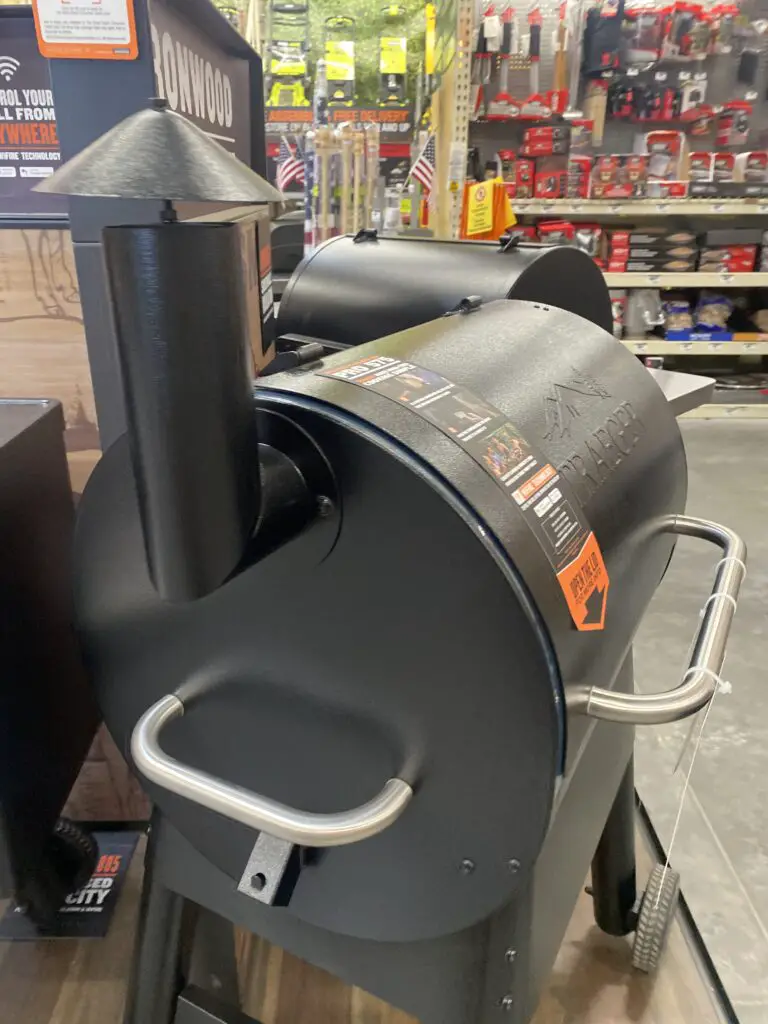
The Traeger Chimney Cap is one of the most essential parts of your grill. It helps regulate the temperature inside the grill and keeps ash and debris from entering the cooking chamber.
Traeger recommends one to two inches high for the chimney cap on a Traeger grill, but the choice is by preference and weather conditions.
The chimney cap should be placed level with the top of the firebox.

This will ensure that the draft pulls clean air through the fire and does not recirculate smoke and fumes back into the cooking chamber.
If you find that your food is not cooking evenly or that there is excessive smoke flavor, you may need to adjust the height of your chimney cap. Simply loosen the thumbscrews on the side of the cap, and slide it up or down to the desired position. Be sure to retighten the thumbscrews before cooking.
By following these simple tips, you can ensure that your food will be cooked evenly and with the perfect amount of smoke flavor every time.
How to Adjust the Chimney on a Traeger
If you find that your food is not cooking evenly on your Traeger grill, it could be due to the chimney not being properly adjusted. The chimney on a Traeger grill controls the amount of airflow and can be easily adjusted by following these simple steps:
1. Locate the two screws on the back of the chimney. These screws are used to adjust the height of the chimney.
2. To raise the chimney, loosen both screws slightly and then turn them to the right (clockwise). To lower the chimney, loosen both screws slightly and turn them to the left (counter-clockwise).
3. Once you have achieved the desired height, tighten both screws firmly.
4. Test the grill by cooking a few items and see if the results are to your satisfaction. If not, repeat steps 1-3 until desired results are achieved.
Can You Adjust a Traeger Chimney?
Yes, you can adjust the chimney on your Traeger.
The purpose of the chimney is to help regulate the amount of airflow that goes through the grill.
By adjusting the chimney, you can change how much smoke is produced.
If you want to increase the smoke, you will need to open up the chimney cap. This will allow more air to flow into the grill and produce more smoke.
If you want to decrease the smoke, you will need to close the chimney cap. This will restrict the amount of air that flows into the grill and produce less smoke.
Every grill is different and will produce different results. It is essential to experiment with the chimney cap to find the perfect setting for your needs. It may take some trial and error to find the ideal setting, but it will be worth it.
What Does Adjusting the Chimney Cap Do on Traegers?
If you have a Traeger pellet grill, you know that one of the keys to its success is the convection fans.
These keep air circulating around the food to cook evenly on all sides. But what if your fan isn’t working properly? One way to troubleshoot this issue is by adjusting the chimney cap.
The chimney cap is located on the top of the grill, and its purpose is to direct smoke up and out of the grill.
If the cap is not adjusted correctly, it can cause the fan to work less efficiently. In some cases, it can even cause the fan to stop working altogether.
First, make sure that the grill is turned off and cooled down to adjust the chimney cap.
Then, remove the cap by unscrewing it from the top of the grill.
Two screws hold the cap in place.
The inner screw adjusts the width of the opening, while the outer screw adjusts the height.
Adjust these screws until the opening is big enough for smoke to escape but not so big that it affects the fan’s performance.
Once you’ve made your adjustments, screw the chimney cap back into place and turn on your grill. You should notice a difference in how well it performs.
If not, continue making adjustments until you find the perfect setting.
Traeger grills are known for even cooking, but sometimes things can go wrong.
It is an appliance, and parts fail over time or don’t work. If your grill isn’t performing as well as it should, adjusting the chimney cap is simple to troubleshoot the problem.
With a bit of trial and error, you’ll have your grill working like new.
Final Thoughts
Overall, the Traeger chimney cap is a great product that does its job well for the entire grilling process. It’s easy to install, adjust, and use.
Plus, it’s made of high-quality materials. If you’re looking for a way to improve the performance of your Traeger grill, this is a great option.
Robert is a certified Pitmaster, with over a decade of experience in smoking the best meats you’ll ever feast upon. He also has a Bachelor of Business Administration from the University of Texas at San Antonio. When he’s not researching technical topics, he’s most likely barbecuing in his backyard.