We strive to provide you with authoritative, trustworthy, and expert advice. In doing so, the staff at bbqdropout.com performs extensive research, editing, and fact checking to every post on this webiste. If you feel that this article can improve, please feel free to reach us at staff@bbqdropout.com
Before continuing this article, I wanted to let you know that I have a YouTube channel where I showcase all sorts of video content related to BBQ. Subscribing would mean a lot to me, and I very much appreicate all the support!
The Ultimate Oven-Baked Brisket Guide: Tips from a Boerne, Texas BBQ Expert
There’s nothing quite like the mouth-watering aroma of a perfectly cooked brisket wafting through the air.
As a BBQ expert based in Boerne, Texas, I’ve had the pleasure of perfecting my brisket-cooking technique over the years. Now, I want to share my secrets with you, so you can enjoy the ultimate oven-baked brisket in the comfort of your own home.
This comprehensive guide will cover everything from temperature settings to resting times, ensuring your brisket is tender, juicy, and packed with flavor.
Choosing the Right Brisket
Before you start cooking, it’s important to choose the right brisket. Look for a well-marbled piece with a generous layer of fat. This fat will render down during cooking, keeping the meat moist and flavorful. Ideally, you should select a USDA Prime or Choice grade brisket for the best results.
Preparing the Brisket
Properly preparing your brisket is crucial for a delicious final product. Trim any excess fat, leaving about 1/4-inch thickness for even cooking.
Next, apply a dry rub of your choice, massaging the spices into the meat. Let the brisket sit in the refrigerator for at least 4 hours or overnight to allow the flavors to penetrate the meat.
Oven Temperature: 225°F – 350°F
Preheat your oven to a temperature between 225°F and 350°F. The cooking time will vary depending on the temperature, brisket grade, cut, and marbling.
A general rule of thumb is to allow one hour per pound of brisket when cooking at 225°F – 250°F. For higher temperature cooks, the cooking time per pound will decrease.
Wrapped vs. Unwrapped Brisket
When it comes to wrapping your brisket, there are pros and cons to both options. Wrapping your brisket in foil or butcher paper speeds up the cooking process and helps push through the stall.
However, this may impact the bark or crust, potentially diminishing its quality.
If you prefer a more pronounced bark, leave your brisket unwrapped. This will result in a slower cooking time but will help to preserve the desirable bark flavor profile.
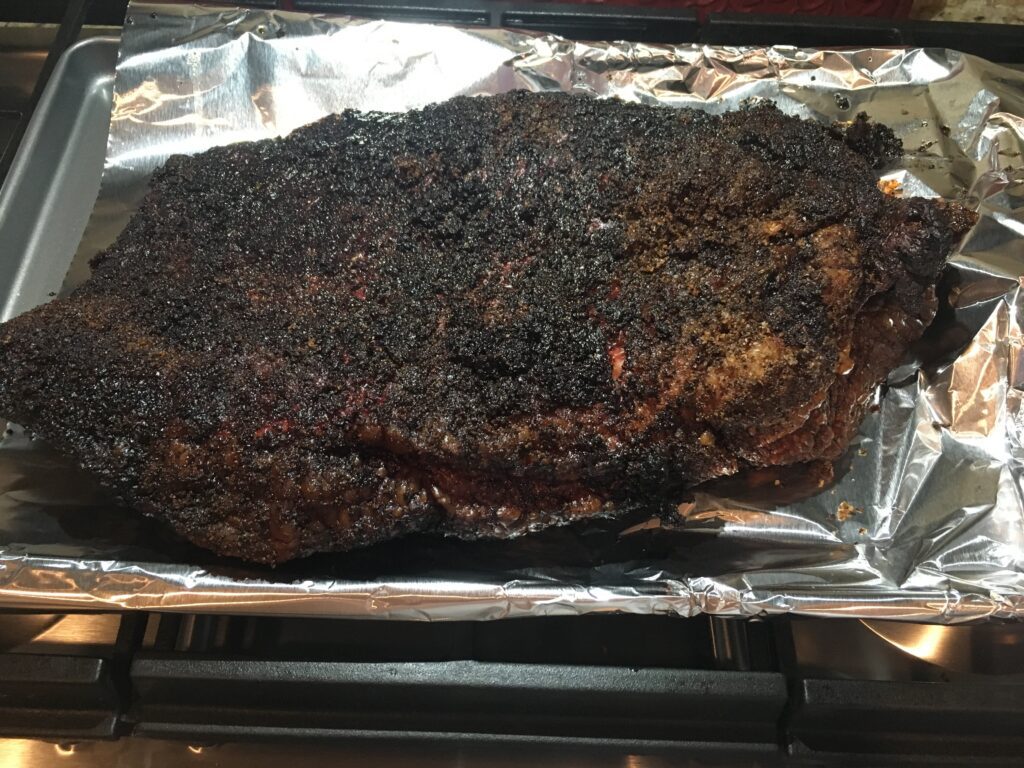
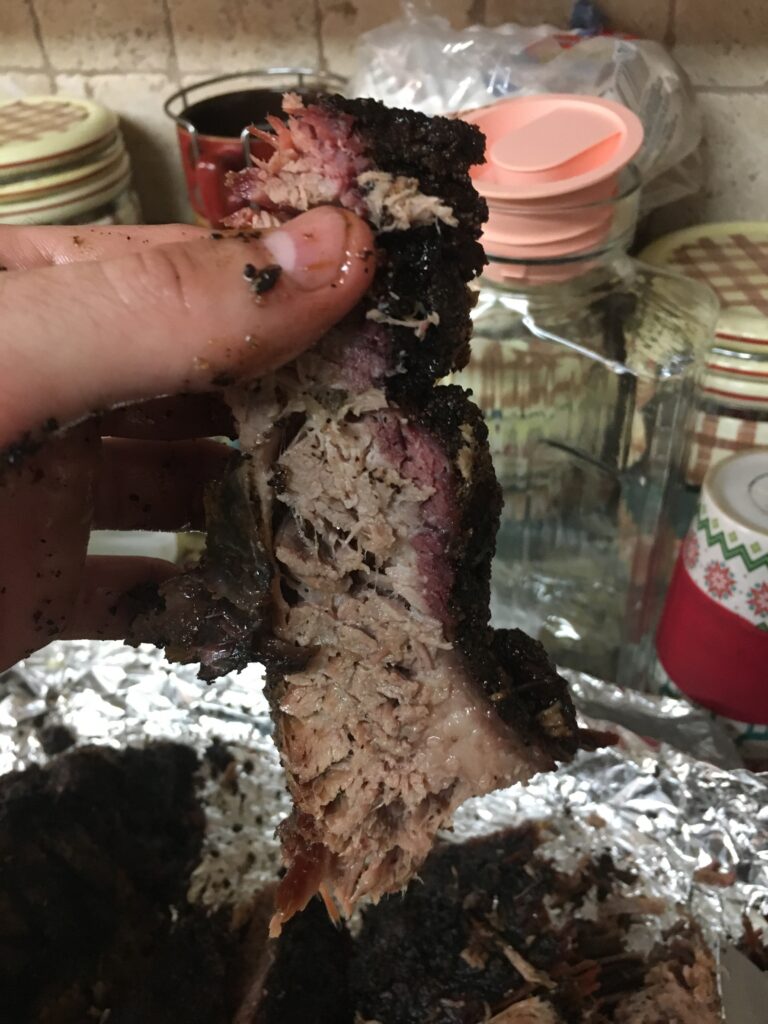
Preventing Dry Brisket
To avoid drying out your brisket, monitor the internal temperature and avoid overcooking. Aim for a probe-tender brisket at around 200°F.
Investing in a high-quality meat thermometer is essential to ensure accurate temperature readings.
Basting Your Brisket
Basting your brisket with a mixture of beef broth, melted butter, and Worcestershire sauce every hour during cooking can help keep the meat moist and add an extra layer of flavor.
Resting Your Brisket
Resting is crucial for a juicy brisket. After turning off the oven, let your brisket rest inside, taking advantage of the oven’s insulation.
Aim for an internal temperature of 150°F – 165°F during the resting phase. This allows the juices to redistribute within the meat, resulting in a tender and flavorful brisket.
Foil-Wrapped Brisket
Wrapping your brisket in foil can speed up cooking time, but may affect the bark and lead to a pot roast-like flavor. Consider this option if you’re short on time.
Be aware that the bark may not be as pronounced, and the overall texture of the brisket may be slightly different.
Resting Duration
Allow your brisket to rest for 5 – 6 hours after reaching an internal temperature of 200°F. This resting period is critical for ensuring a moist and tender
final product. The carryover heat will continue to cook the brisket gently, allowing the moisture and connective tissues to come to a halt. This prevents the juices from evaporating when you slice into the meat, ensuring a tender and juicy brisket.
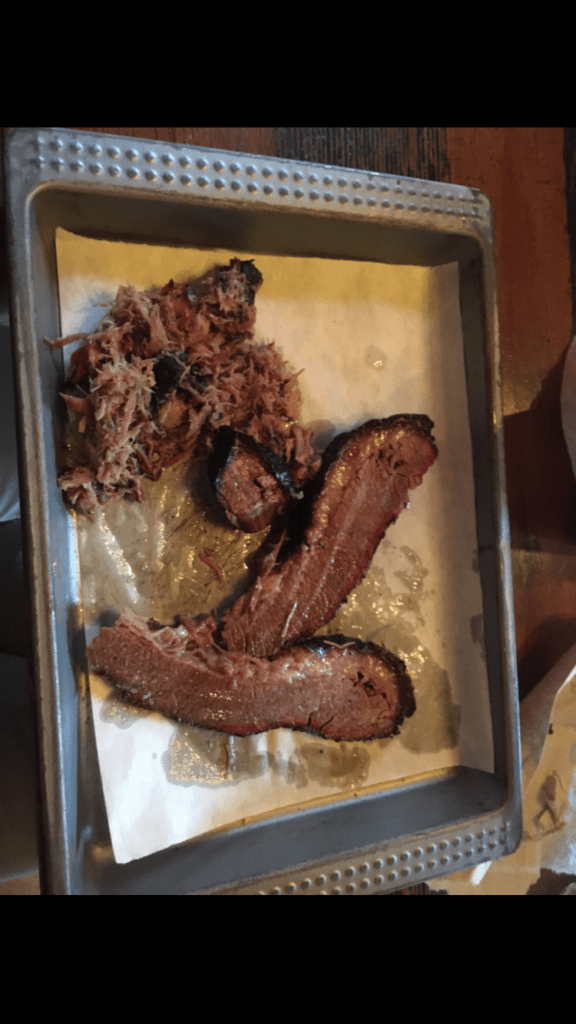
Slicing Your Brisket
When it’s finally time to slice your brisket, make sure you use a sharp knife and cut against the grain. This will result in tender, melt-in-your-mouth slices.
Start by cutting the flat part of the brisket first, followed by the point. Remember to slice the point against the grain as well, which may be at a different angle than the flat.
Serving Your Brisket
Serve your oven-baked brisket with your favorite BBQ sides, such as coleslaw, potato salad, baked beans, or cornbread.
Don’t forget to offer a delicious BBQ sauce on the side for dipping or drizzling over the meat. You can also use your brisket to create amazing sandwiches, tacos, or sliders.
Storing and Reheating Leftovers
To store leftover brisket, wrap it tightly in aluminum foil or place it in an airtight container, then refrigerate for up to 4 days.
To reheat, preheat your oven to 300°F, wrap the brisket in foil with a splash of beef broth to keep it moist, and heat for 25-30 minutes until warmed through. You can also reheat sliced brisket in a saucepan with a small amount of beef broth or BBQ sauce over low heat.
Final Thoughts
Cooking a delicious oven-baked brisket takes patience and attention to detail, but the results are well worth the effort.
By following these expert tips from a Boerne, Texas BBQ connoisseur, you’ll be on your way to enjoying tender, flavorful, and juicy brisket right in your own home.
Remember to choose a well-marbled brisket, apply a flavorful dry rub, cook at the right temperature, and allow your meat to rest before slicing. With practice and persistence, you’ll soon become the go-to brisket master among your family and friends. Happy cooking!
Robert is a certified Pitmaster, with over a decade of experience in smoking the best meats you’ll ever feast upon. He also has a Bachelor of Business Administration from the University of Texas at San Antonio. When he’s not researching technical topics, he’s most likely barbecuing in his backyard.