
We strive to provide you with authoritative, trustworthy, and expert advice. In doing so, the staff at bbqdropout.com performs extensive research, editing, and fact checking to every post on this webiste. If you feel that this article can improve, please feel free to reach us at staff@bbqdropout.com
Before continuing this article, I wanted to let you know that I have a YouTube channel where I showcase all sorts of video content related to BBQ. Subscribing would mean a lot to me, and I very much appreicate all the support!
Kamado Joe Jr Table Plans
Several aftermarket manufacturers offer grill tables and table plans to accommodate a Kamado Joe Jr.
They can be a great way to integrate this fun kamado grill into an outdoor kitchen.
Though a lot of the ones you can buy online have some pretty steep price tags and not the friendliest shipping costs.
This has a lot of do-it-yourselfers inspired to try to build their own Kamado Joe Jr. tables at home.
The truth is with some basic power tools and some modest woodworking skills, you can make a table that is capable of supporting a Kamado Grill, and all your essential accessories.
You should be able to make the frame, shelves, and tabletop for around $100, depending on the price of lumber.
The time it takes to build a simple 24 X 48-inch Kamado Joe Jr. grill table that stands 31.75-inches high at the tabletop.
Construction time should only take a full Saturday afternoon.
The dimension of the Kamado Joe Jr. is important for determining shelf height, placement, and the size of the hole you need to scribe in the tabletop.
The diameter of the Kamado Joe Jr’s ceramic body right before it swells to accommodate the lower band is 17-inches.
It is then 9 inches down from there to the feet. This is then the minimum distance of the undershelf it needs to sit on.
How Do You Make a Kamado Joe Table?
Lumber is the most versatile building material and is strong enough to support a Kamado Joe Jr. which makes it the best option for building your own table.
Since it is going to spend its life outdoors, you want to choose either treated lumber or another type of weather-resistant wood like cedar.
Recycled redwood would also be great if you can find it.
The Kamado Joe weighs 68 pounds on its own.
That’s before adding any accessories, meat, or serving platters. So, it’s best to err on the side of caution and go with 2 X 4 lumber with 4 X 4 legs.
While you can cut lumber this size with a circular saw, the going will be much easier with a compound miter saw. Then you will also need 3.5-inch-long decking screws and a power drill.
What Size Is Kamado Joe Jr?
There are several important dimensions to keep in mind for integrating the Kamado Joe Jr into a table.
This starts with the height from the exterior feet to the bottom of the lower band, which is 9-inches.
Since you might need to adjust the band during the life of the grill, you need to make sure that the base shelf the Kamado Joe Jr. sits on is no more than 9-inches lower than the top of the table.
At this height, the diameter of the Kamado Joe’s ceramic grill body is 17-inches from east to west.
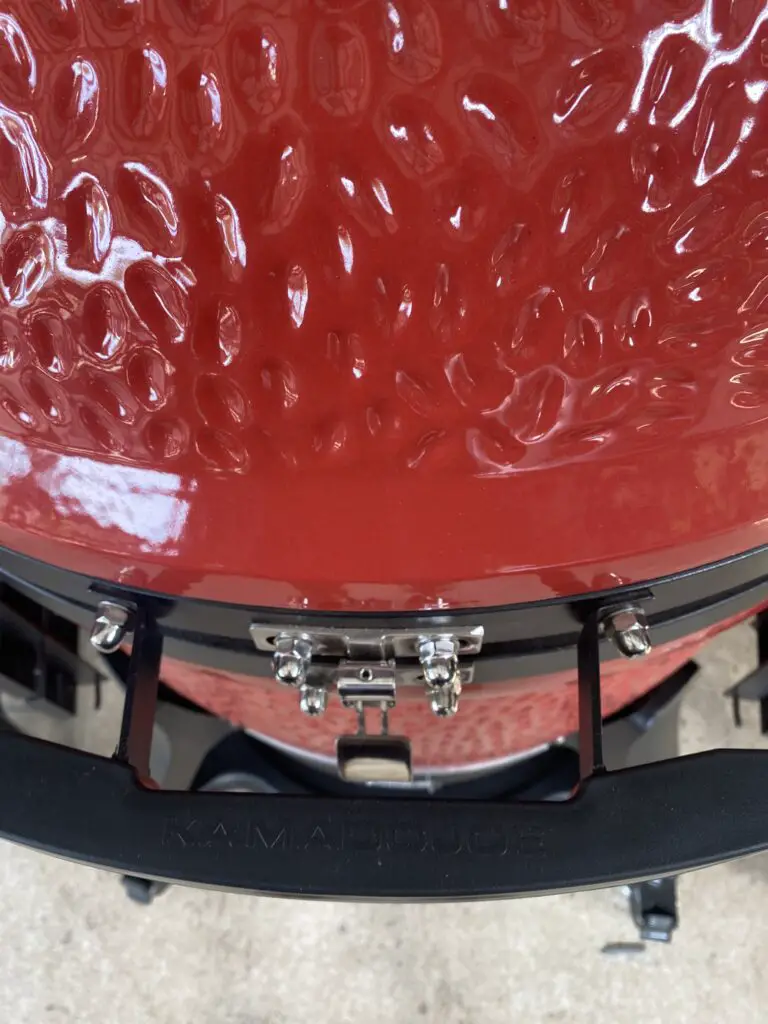
Though you also have to take into account the airlift hinge at the back, which is 18.187-inches from the front latch and is 5.75-inches wide.
https://cdn.shocho.co/sc-specsheets/kj_specsheet_joejr_2014.pdf
Plans For Kamado Joe Jr Table
For less than $100, you can make a straightforward table to support your Kamado Joe Jr. with basic 2 X 4 and 4 X 4 lumber.
It starts out reminiscent of a heavy-duty workbench that you can use as a skeletal structure for adding on other personalized accents.
Tools You Will Need
Compound miter saw or circular saw
Power drill with bits
3.5-inch wood screws
Jigsaw or reciprocating saw
Lumber Cut List
4 (4 X 4) cut to 30”
6 (2 X 4) cut to 48”
24 (2 X 4) cut to 24”
6 (2 X 4) cut to 22”
1 (24” X 48”) sheet of 1-inch-thick treated plywood
Step One: Cut all lumber to the correct dimensions for ease of assembly.
Step Two: Lay two of the (4 X 4) cut to 30” flat on the ground 48 inches apart. Then place one of the (2 X 4) cut to 48” on top of the posts flush with the top. Drive two screws into each face.
Step Three: Measure down 9 inches on each 4 X 4 and make a line. Lay another (2 X 4) cut to 48” at that line and drive two screws into each face. This will later become the base of the shelf that the Kamado Joe Jr. will sit on.
Step Four: Measure six inches up from the bottom of the 4 X 4’s and make a mark. Then lay another (2 X 4) cut to 48” at that line and drive two screws into each face. This will give you a bottom shelf that helps tie the structural support of the table together, while also leaving room for a toe kick.
Step Five: Repeat the first four steps to make a front and back frame for your Kamado Joe Jr. table.
Step Six: Stand both frames up with the 6-inch toe kick at the bottom. They should look like a pair of figure 8s turned sideways. While the frames will stand on their own, it helps to have another person hold them square for the next steps.
Step Seven: Make toe-screw pilot holes in each of the six (2 X 4) cut to 22” and hold them onto the ends of 2 X 4 shelf bases. Toe screw them into the 4 X 4 upright posts. Then drive a separate screw into the butt joint of the shelf bases. This will tie both frames together.
Step Eight: Lay 12 of the (2 X 4) cut to 24” on the bottom shelf base stringers with a tiny amount of space between each one to let any rainwater drain off. Then screw them into the shelf base stringer.
Step Nine: Lay the next 12 (2 X 4) cut to 24” on the middle shelf base stringers with a tiny amount of space between each one to let any rainwater drain off.
Then screw them into the shelf base stringer. This will provide a robust support for the bottom of the Kamado Joe Jr.
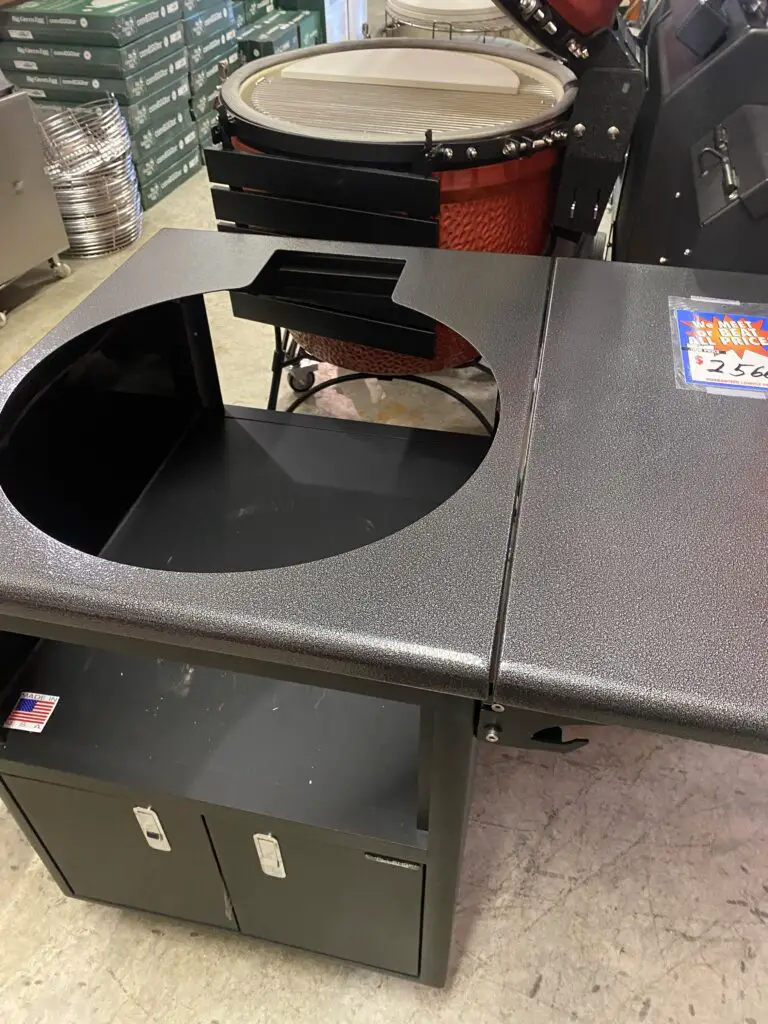
Step 10: Pull out the (24” X 48”) sheet of 1-inch-thick treated plywood, and pick the location you want to keep the Kamado Joe Jr. Ideally you want to bias it with the lid handle close to the front.
Step 11: Scribe a circle that is 17-inches in diameter.
This will fit nicely with the diameter of the Kamado Joe Jr, when it is set in the hole.
Step 12: Use a 2-inch diameter hole saw to make a hole in the plywood near the back of the circle. Ideally, you want the edge of the hole to just kiss the apex of the scribed circle, this will serve as a good place to start your jigsaw blade.
Starting the hole saw pilot hole in the back will also help hide any accidental chipping on the face of the plywood when the Joe Jr is installed.
Step 13: Use a jigsaw or a reciprocating saw to carefully cut out the 17-inch diameter hole.
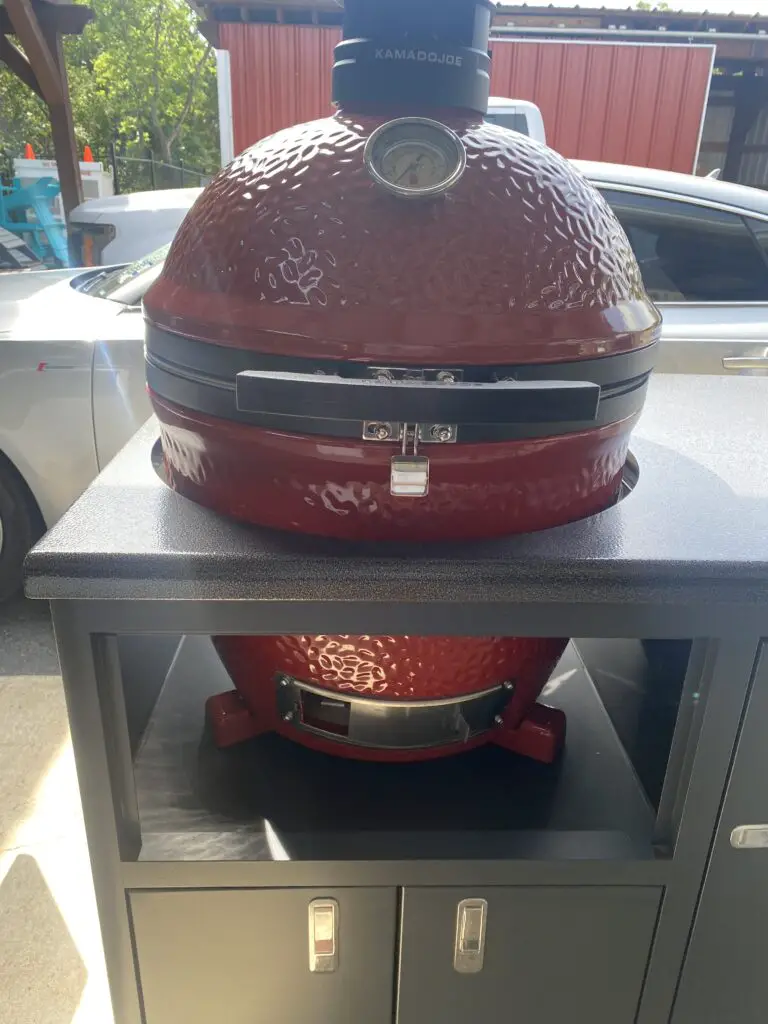
Step 14: Place the tabletop on the frame. You can secure it with four L brackets and a series of half-inch screws.
You can finish the cart with exterior paint, stain, or spar varnish to add weather protection. Then seat the Kamado Joe Jr. through the 17-inch diameter hole.
Kamado Joe Jr Table Dimensions
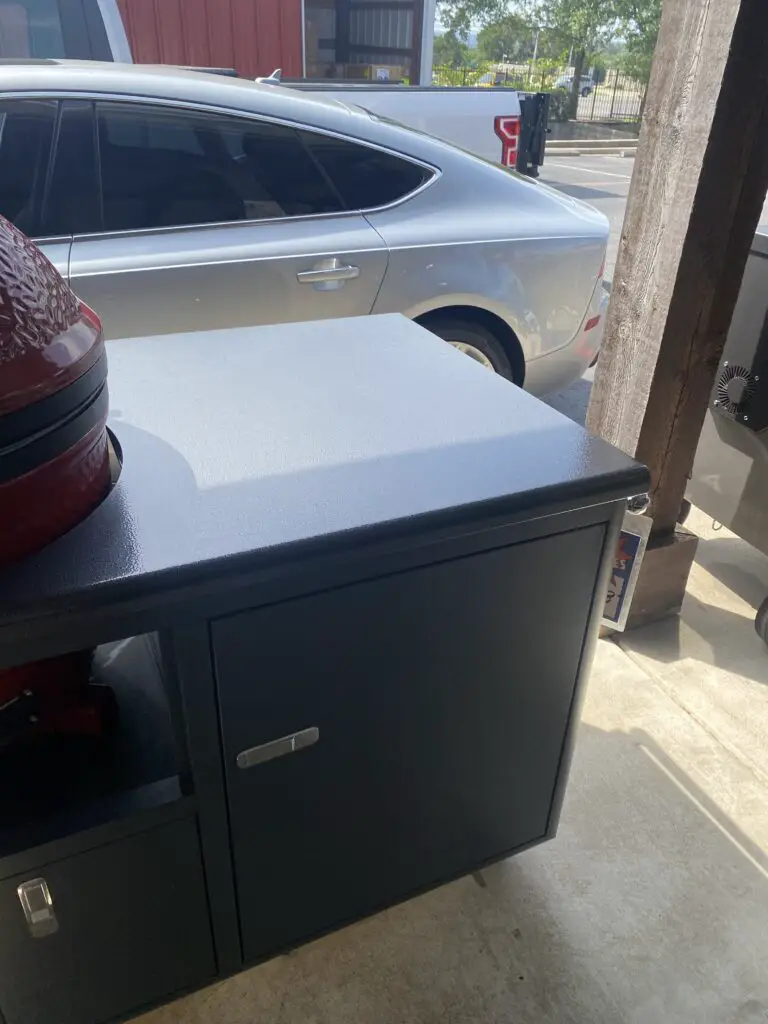
The above plans will give you a 48-inch long by 24-inch-wide table top for your Kamado Joe Jr.
There will be plenty of space for serving and prep platters as well as room on the shelves underneath to store accessories, seasonings, and grill tools.
The tabletop itself will be 31.75 inches high, and the top vent of the grill will be 41.75 inches high.
This also lets you make the most out of common sizes of lumber.
The tabletop is essentially a 48” X 48” handy panel cut in half. Most of the 2 X 4 cuts can be made directly from 8-foot lumber with little to no scrap wood.
Final Thoughts
Making your own Kamado Joe table isn’t all that hard and can be pretty straightforward with inexpensive lumber, some basic power tools, and modest woodworking skills.
Once you have the base built and the 17-inch hole cut into the tabletop, you can add your own finishing touches to customize the grill table to your style.
This might include things like adding tool hooks. Installing runners for pull-out shelves or drawers can help you access tools.
A waterproof sealable tote bin on the large bottom shelf gives you a convenient place to keep your jumbo lump charcoal.
The Kamado Joe Jr’s ceramic body has a diameter of 17-inches right where it swells to accommodate the lower band. It is then 9 inches down from there to the feet.
This is then the minimum distance of the undershelf it needs to sit on.
Depending on the cost of lumber and your optional finishing touches, you should be able to build a 24” X 48” grill table for your Kamado Joe Jr for $100 or less.
This is a massive savings considering that a lot of similar tables go for around $500 on the internet.
If you are reasonably handy, you should be able to build it on a single Saturday afternoon.
Robert is a certified Pitmaster, with over a decade of experience in smoking the best meats you’ll ever feast upon. He also has a Bachelor of Business Administration from the University of Texas at San Antonio. When he’s not researching technical topics, he’s most likely barbecuing in his backyard.