
We strive to provide you with authoritative, trustworthy, and expert advice. In doing so, the staff at bbqdropout.com performs extensive research, editing, and fact checking to every post on this webiste. If you feel that this article can improve, please feel free to reach us at staff@bbqdropout.com
Before continuing this article, I wanted to let you know that I have a YouTube channel where I showcase all sorts of video content related to BBQ. Subscribing would mean a lot to me, and I very much appreicate all the support!
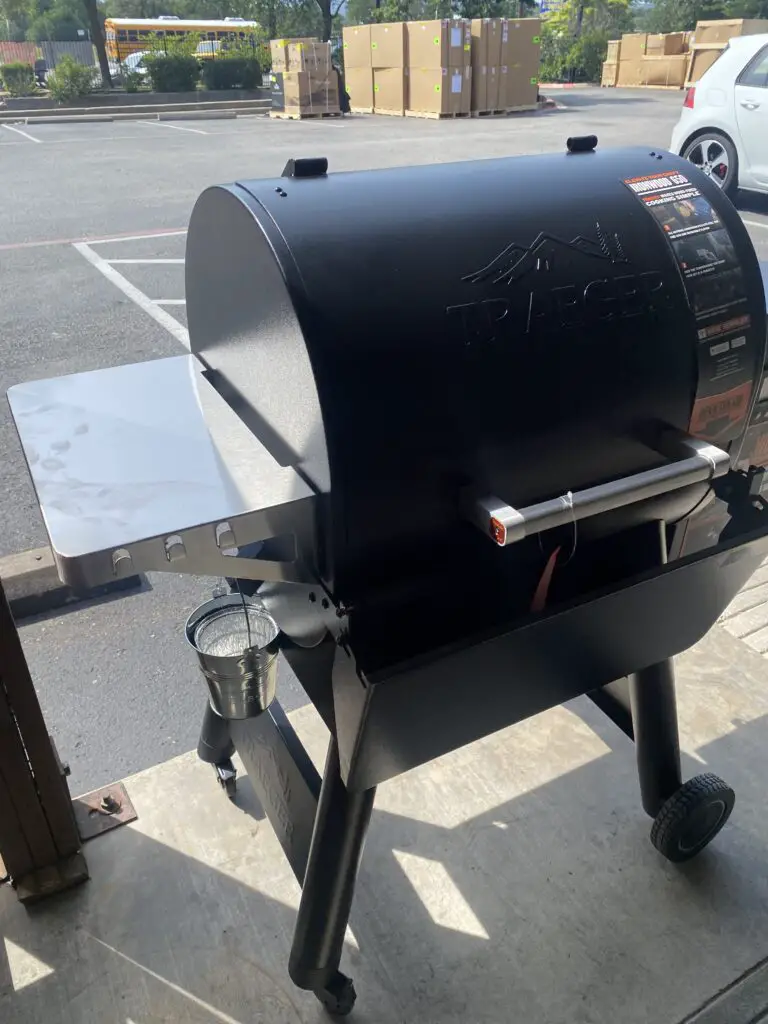
Costco Traeger Seasoning
Traeger’s manufacturing process sometimes leaves behind a small amount of residual non-toxic oils and other lubricants.
Seasoning the grill, sometimes referred to as burning it in, removed these non-toxic lubricants to get the grill ready for use.
However, this is not as simple as just turning on the Costco Traeger grill and letting it smoke for a little while.
There are two different seasoning techniques based on the type of grill you have.
A Wi-FIRE enabled Costco Traeger grill handles much of the seasoning process via the smartphone app, and calls for a two-stage, timed heating process.
An AC or “Non-Wi-FIRE Traeger grill involves more physical manipulation of the internal components and only uses a single 30-minute burn cycle.
Traeger also offers special seasoning blends that use ingredients like cane sugar, salt, and maltodextrin with key seasonings paired for specific types of meat.
These are custom blends that not only help flavor the meat but optimize its ability to take in smoky flavors.
Traeger further helps maximize the smoke density in their wood pellet grills by including a “Smoke” mode on many of their models.
This helps build a consistent flame in the firepot at low temperatures before you add the meat.
Do Traeger Grills Need to Be Seasoned?
Costco Traeger grills need to be seasoned, or “Burned-In” to burn off any traces of residual, lubricants, or non-toxic oils that might have been left behind from the manufacturing process.
This is a one-time process to get your new Traeger wood pellet grill ready for its long life.
What Is in Traeger Seasoning?
Traeger’s popular lineup of seasonings often uses ingredients like cane sugar, salt, paprika, dehydrated apple, onion, spices, maltodextrin, corn starch, chili pepper, honey, and paprika extract.

They are specially formulated into blends that pair nicely with specific meats.
Key ingredients like cane sugar, salt, cornstarch, and maltodextrin help to draw water-soluble proteins to the surface of the meat.
This helps capture smoky flavors to make the most out of the wood pellet smoking process.
It’s important to note that this is different from “Seasoning” or “Burning-In” a new Traeger grill for the first time to burn off any residual manufacturing oils or lubricants.
How Do You Get Smoky Flavor on Traeger?
Like a lot of wood pellet grills, the lower you set the temperature, the more smoke the grill will produce.
This is why a lot of Traeger grills have a “Smoke” setting to maximize the smoke density inside the primary cooking chamber before adding the meat.
Applying a good seasoning rub a few hours before smoking will also help your meat capture a smokier flavor during the cooking process.
Covering your Costco Traeger with an insulated grill blanket will also help with heat control, as well as reduce leaks to maximize the internal smoke density.
How Do I Season My New Traeger Smoker?
There are two different seasoning processes for a Costco Traeger wood pellet grill.

The one that is best for your new Traeger will depend on whether it is WiFIRE enabled or a traditional AC wood pellet grill.
How To Season A WiFIRE Enabled Traeger Grill
The process of seasoning a WiFIRE capable Traeger grill starts with downloading the WiFIRE app to your phone.
You then control the process directly through the app itself using the following steps.

Step One: Install all internal components. Including the heat baffle, drip tray, and grill grates.
Step Two: Plug the grill into an electrical outlet and it on using the main switch on the back of the Traeger.
Step Three: Fill the hopper at least a quarter of the way with wood pellets.
Step Four: In the app select the Auger and choose the “Prime Auger” feature.
Step Five: Once wood pellets start to fall into the firepot, select Done to temporarily deactivate the auger.
Step Six: Set the temperature control to 350-degrees and close the lid.
Step Seven: Select “Ignite” to start the internal heating rod.
Step Eight: Allow the grill to come up to 350° and let it burn steadily for at least 20-minutes.
Step Nine: Turn the temperature up to 450° and let it burn steady for at least 30-minutes.
At this point, your WiFIRE-Enabled Traeger grill is ready for its first cook.
How To Season An AC Non-WiFIRE Traeger Grill
Most AC or Non-WiFIRE grills have analog control dials.
Though some updated models do have digital displays.
The seasoning process with these Traeger grills is slightly different and goes beyond simply using a smartphone app.
Step One: Dry fit all the internal components including the heat baffle, drip tray, and grill grates, to make sure you know how to install them correctly. Then remove them in reverse order.
Step Two: Plug the grill into an electrical outlet and it on using the main switch on the back of the Traeger.
Step Three: Fill the hopper at least a quarter of the way with wood pellets.
Step Four: Prime the auger by setting the grill to high and letting the until the pellets start to reach
Step Five: Turn off the grill using the power switch on the front of the controller. Then reinstall all the components you dry fit in step one.
Step Six: Turn the Traeger grill on, close the lid, and set the controller to “Smoke” mode.
Step Seven: Give the grill approximately 15 minutes for the firepot to establish a consistent flame. Signs of this include smoke that goes from thick and white to thin and light blue in color.
Step Eight: Let your Traeger grill burn the grill on High for at least 30 minutes.
At this point, your Traeger grill is seasoned and ready for its first cook.
Final Thoughts
Traeger’s manufacturing process can sometimes leave behind residual traces of non-toxic oils and other lubricants that need to be burned off before you use the grill.
This process of Seasoning or “Burning-in” removed these non-toxic lubricants, while also helping you get familiar with your new wood pellet grill.
Though the technical steps that go into seasoning a new Costco Traeger goes beyond just letting it run for a while.
The proper seasoning technique can also vary depending on the type of grill you have.
You will manage most of the two-stage seasoning process via a smartphone app for a Wi-FIRE-enabled Costco Traeger.
Whereas an AC or “Non-Wi-FIRE Costco Traeger requires more physical manipulation of the internal components as part of a single 30-minute burn cycle.
Traeger has a lineup of specially formulated special seasoning blends.
They use key ingredients like cane sugar, salt, and maltodextrin to help specific cuts of meat to absorb smoky flavors.
Many Costco Traeger grills some with a special low-temperature “Smoke” mode, that you use as part of the preheating process.
Not only does it help build a consistent flame in the firepot, but it also maximizes the internal smoke density before you lay down your meat.
Robert is a certified Pitmaster, with over a decade of experience in smoking the best meats you’ll ever feast upon. He also has a Bachelor of Business Administration from the University of Texas at San Antonio. When he’s not researching technical topics, he’s most likely barbecuing in his backyard.